How to Paint Tiles with Artistic Flare
The walls of your home tell a story, and why not let them narrate an artistic tale? Painting tiles art is a unique, cost-effective way to transform the ordinary into extraordinary, infusing your spaces with personality and charm. With a bit of creativity, the right tools, and some guidance, you can create stunning tile art that reflects your style and expresses your imagination. Let's delve into this exciting world of DIY tile art and explore how you too can paint like a pro.
Before we begin, it's crucial to acknowledge that painting tiles art isn't merely about slapping on some colors. It requires careful planning, patience, and the right techniques. The beauty of this art form lies in its diversity - from geometric patterns and bold murals to whimsical illustrations and tempera paint techniques. So, grab your brushes, and let's embark on this artistic journey together!
The Perfect Canvas: Selecting & Preparing Tiles
Choosing the right canvas is half the battle won. For tiles, consider factors like size, shape, material (ceramic, porcelain, or natural stone), and finish (glossy or matte). Opt for unglazed tiles or slightly textured surfaces for better paint adhesion. Ensure they're clean, dry, and free of any debris.


Now, let's prepare them for their transformation. Lightly sand the surface to provide a key for the paint to adhere to. Wipe off any dust with a damp cloth, then let them dry completely. For additional grip, you can apply a primer or undercoat designed for tiles, but this isn't always necessary, especially if you're using all-in-one paint and primer systems.
Understanding Tile Painting Techniques
Once your canvas is ready, it's time to familiarize yourself with the various painting techniques. The most common is the direct method, where you apply paint directly onto the tile using brushes or sponges. Another method is the indirect approach, where you transfer a design onto the tile using carbon paper, then paint within the outlines. For complex tasks, you might want to explore stenciling or even digital printing onto tiles.


Whichever method you choose, remember that practice makes perfect. Sketch your design on paper first, then scale it up for your tile size. Consider using painter's tape to create crisp lines and geometric shapes. Be open to evolving your design as you work - artistic license is part of the fun!
Materials Matter: Selecting the Right Paints
When it comes to paints, the world is your oyster. Acrylic paints are popular due to their vibrancy, ease of application, and versatility. They can be thinned with water for washes or used straight from the tube for bold colors. Oil paints are another option, offering rich,='+ deep hues, but they have a longer drying time and require solvents for cleanup.
For a more permanent solution, consider using ceramic tile paint or specialist tile enamels. These are specifically designed to adhere to tile surfaces and withstand heat when fired in a kiln (if necessary). Some even come with all-in-one primer and paint combinations, saving you time and effort.


Designing & Creating Your Masterpiece
Now that you've got your canvas and tools ready, it's time to let your creativity flow. Your design could be inspired by anything - nature, geometry, pop culture, or even personal memories. The key is to choose something that speaks to you and brings joy whenever you look at it.
Before you dive in, plan your design in detail. Sketch it out, decide on your color palette, and consider the scale of elements relative to the tile size. Having a clear roadmap makes the actual painting process less daunting and more enjoyable.
Applying Paints: Techniques for Success
Ready, set, paint! Start by applying a base coat, allowing it to dry completely before adding other colors. Use steady, controlled brush strokes, working in small sections to avoid overlap and ensure even coverage. For intricate details, opt for fine brushes, while sponges or large brushes can create textured effects or blend colors.
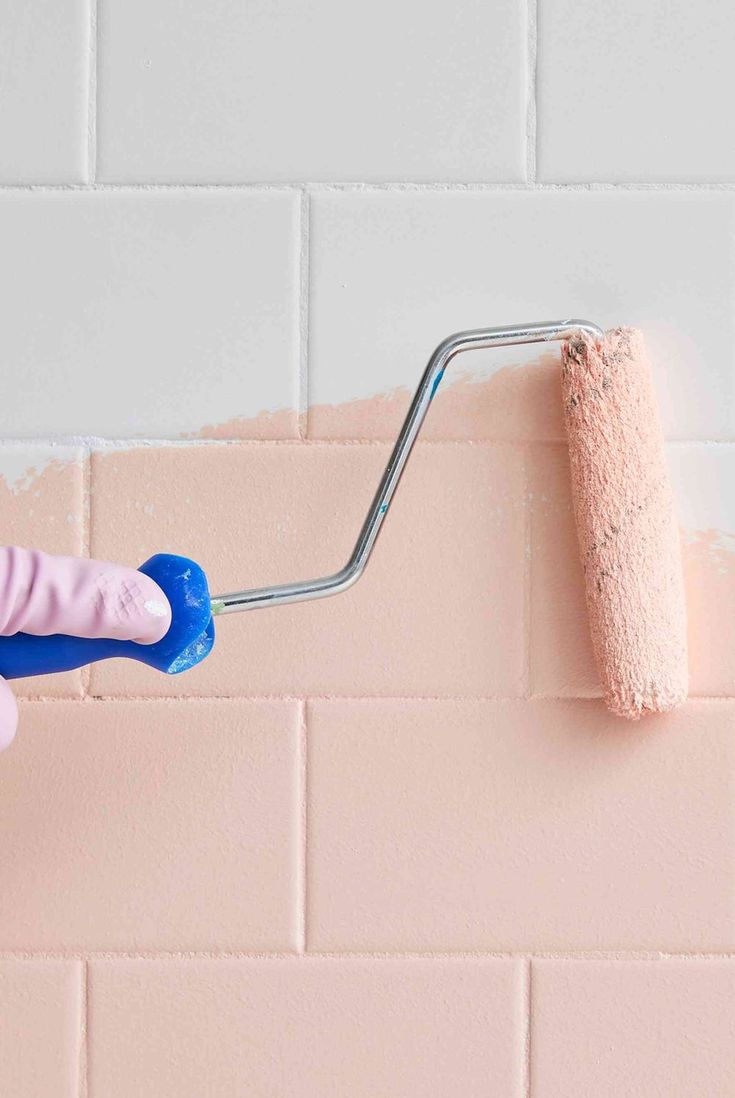


Don't forget to consider depth and dimension. Layering colors, adding shadow and highlights, and incorporating textures can breathe life into your design. Remember, there's no right or wrong here - it's all about expressing yourself and having fun!
Sealing & Protecting Your Artwork
Once your masterpiece is complete, it's time to seal it. This protects your artwork from moisture, dirt, and everyday wear and tear. Specialist tile sealers or varnishes are available in gloss, satin, or matte finishes. Apply them following the manufacturer's instructions, usually with a soft brush or foam applicator, allowing ample drying time between coats.
Don't be afraid to experiment with different effects and techniques. After all, art is about exploring, learning, and growing. Soon enough, you'll have a gallery of stunning tile art adorning your home, each piece a testament to your creativity and skill.
So there you have it - painting tiles art demystified! With these tips and techniques under your belt, you're ready to transform your spaces into vibrant, unique, and oh-so-you expressions of art. Happy painting, and remember, the only 'mistake' is one you don't learn from. So grab that brush, and let your imagination run wild!
Related Articles

Blank Zentangle Template: Unlock Your Artistic Side with These Printable Doodle Tiles
Dive into the captivating world of Zentangle, an intuitive and therapeutic art form that anyone can enjoy, regardless of their artistic background. At the...

"Insect Coloring Pages: Paint & Learn with Free Prints"
Dive into the fascinating world of entomology with our delightful collection of insect coloring pages! Whether you're a kid at heart, a parent looking for fun...

Online Kids Coloring Pages with Paint
Dive into a world of creativity and fun with online kids' coloring pages featuring interactive paint tools. These digital platforms transform screen time into...

Paint by Numbers Templates Free: Unleash Your Artistic Side
Immerse yourself in the world of art with Paint by Numbers template free downloads, a creative and easy way to enjoy the satisfaction of painting without the...

Kleptocats Coloring Page: Paint the Colorless Cat
Discover the whimsical world of "Kleptocats Coloring Pages: Oil the Cat with No Color", an interactive and creative activity that's both engaging and relaxing...

Discover Digitally-Handcrafted Anime Fruits Basket Coloring Pages: Unleash Your Artistic Side with These Captivating & Fun Free Printables!
Embarking on a creative expedition for your little ones? Look no further than the enchanting world of "Fruits Basket" anime-themed coloring pages. This...